
There are many ways to mount your house or nest for the best view—for bees and for us. Brackets make it easier.
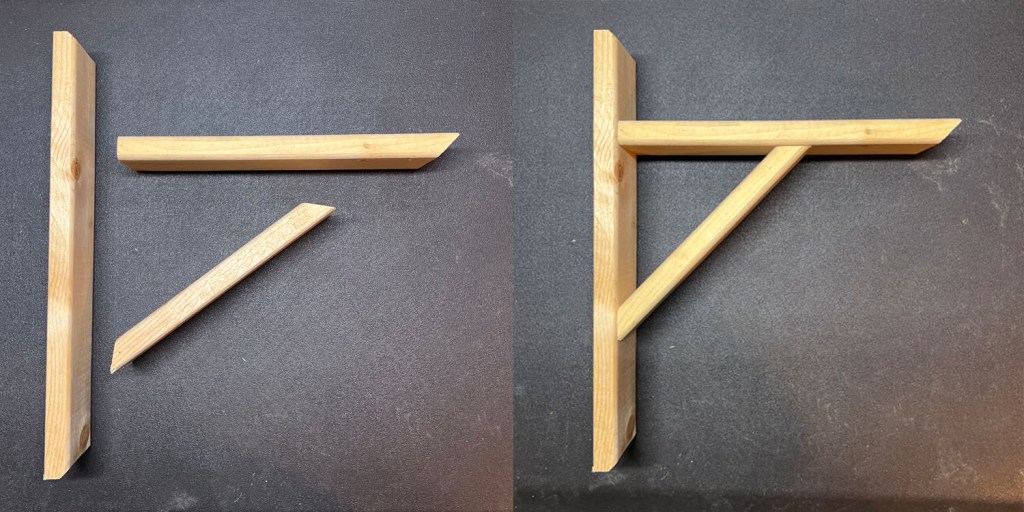
A simple bracket made from 1×3 stock. Mitres of 45 degrees on shown edges provide stability plus some pleasing looks. Shorts screws and a good wood glue will make this unit very strong. Be sure to pre-drill holes for screws to prevent splitting.


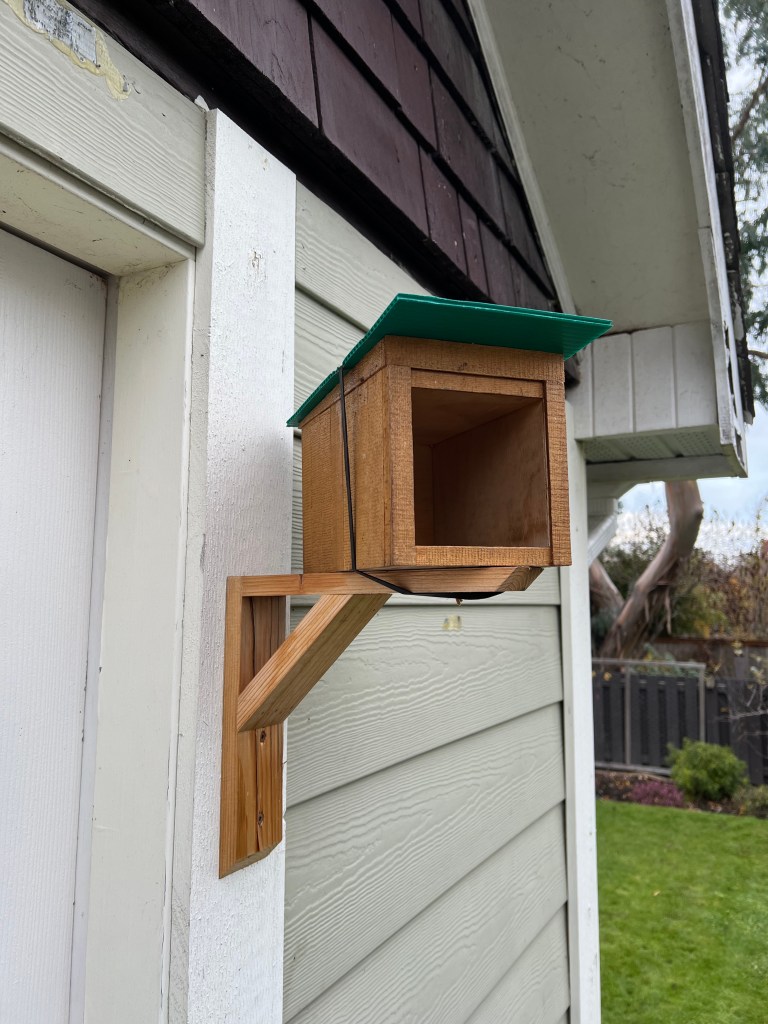
Bracket mounted on wood door trim. Extending the vertical piece above the horizontal makes the screws easier to install (see example above).
4×4 house on a bracket. A rubber-band strip from an inner tube holds it for now, but normally a single screw from under the bracket does the job.
4×4 house mounted on a bracket set 1–2″ forward. A single screw secures it, allowing the house to rotate toward the optimal morning-sun direction.
Mounting with a wood block.
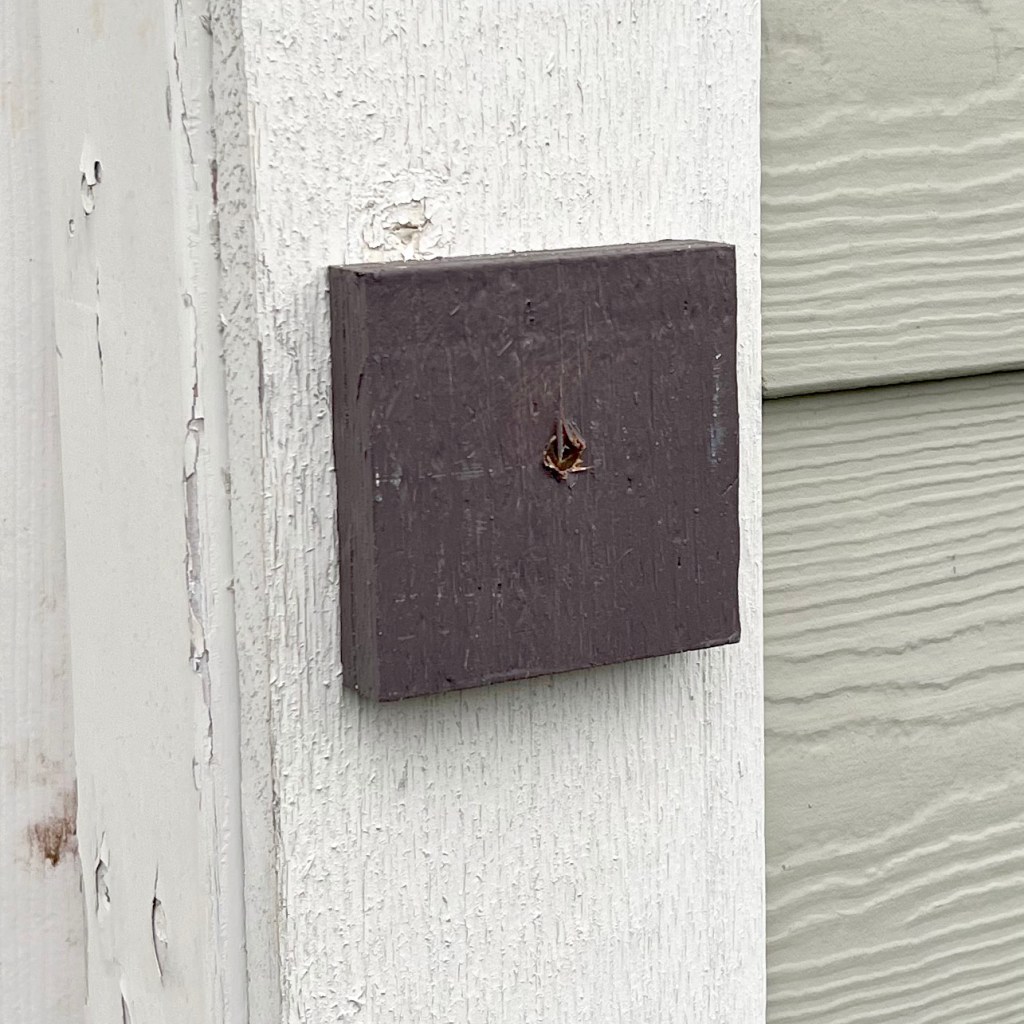
Left: 3/4″ Ply, 2″ x 2″ block on a vertical door trim. Right: Screw the house to the block from the inside before inserting nests. This allows the overhang on the roof to be clear of the door trim
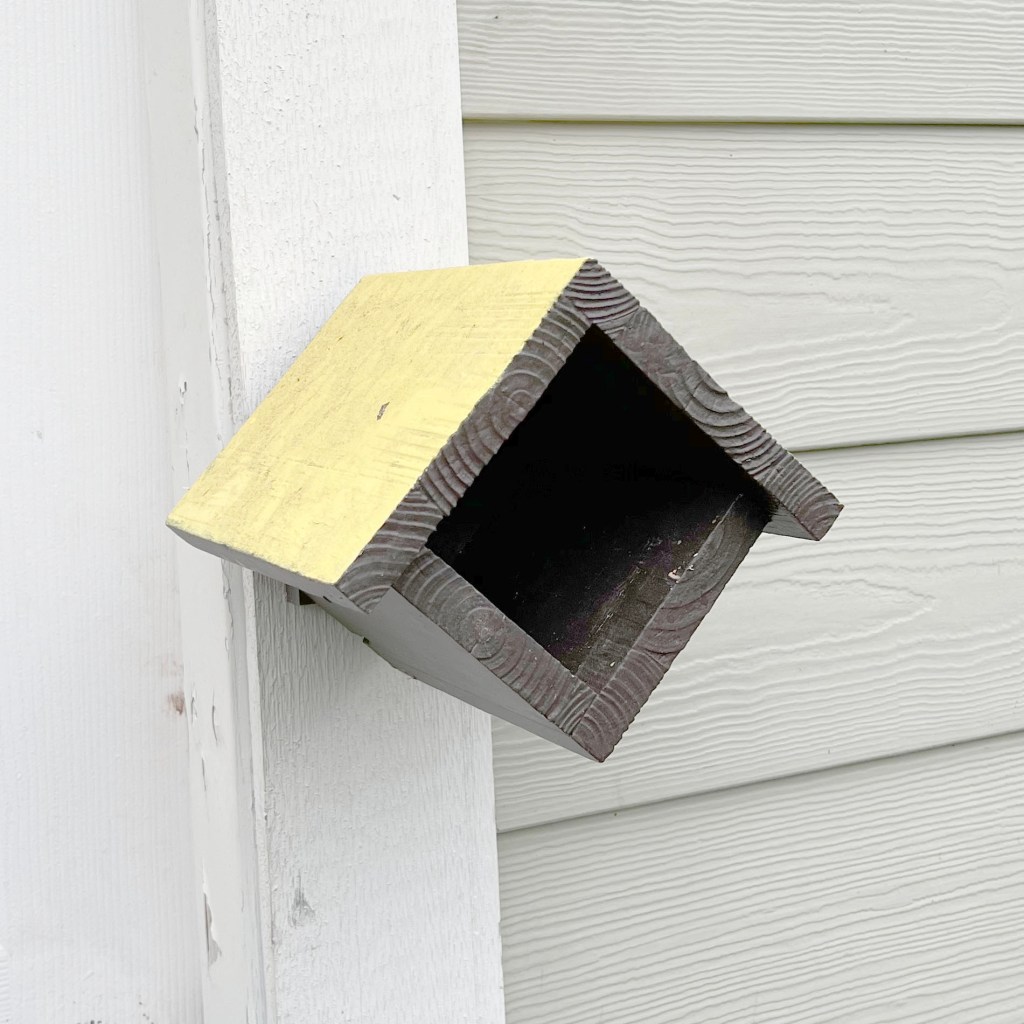
Roof mounted separately from the house using a 3″ back board.
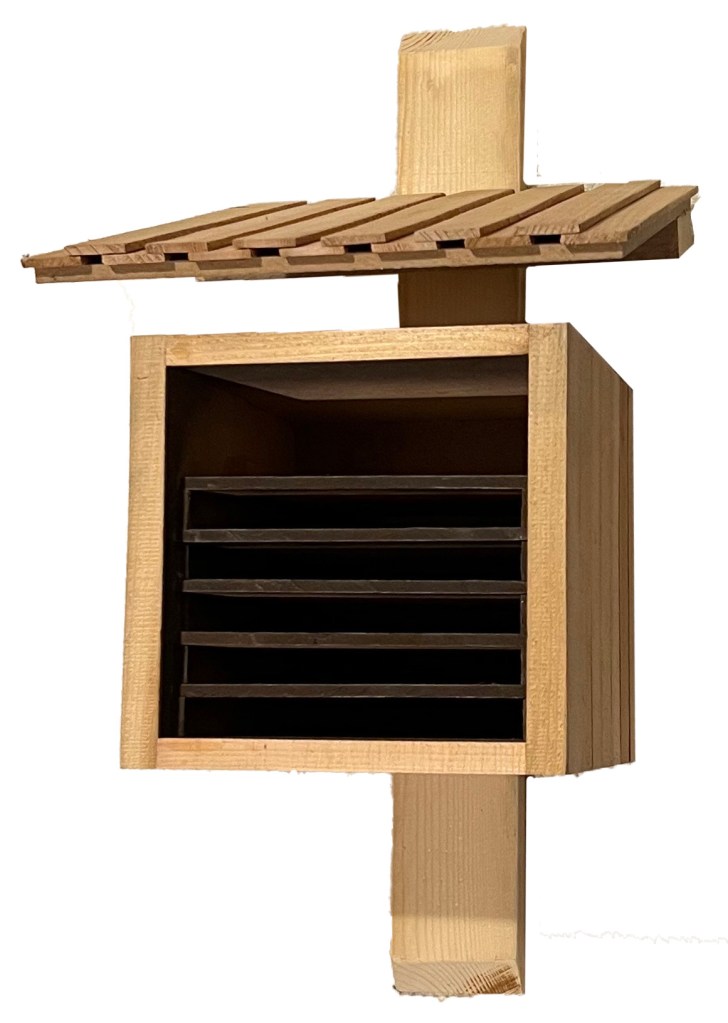
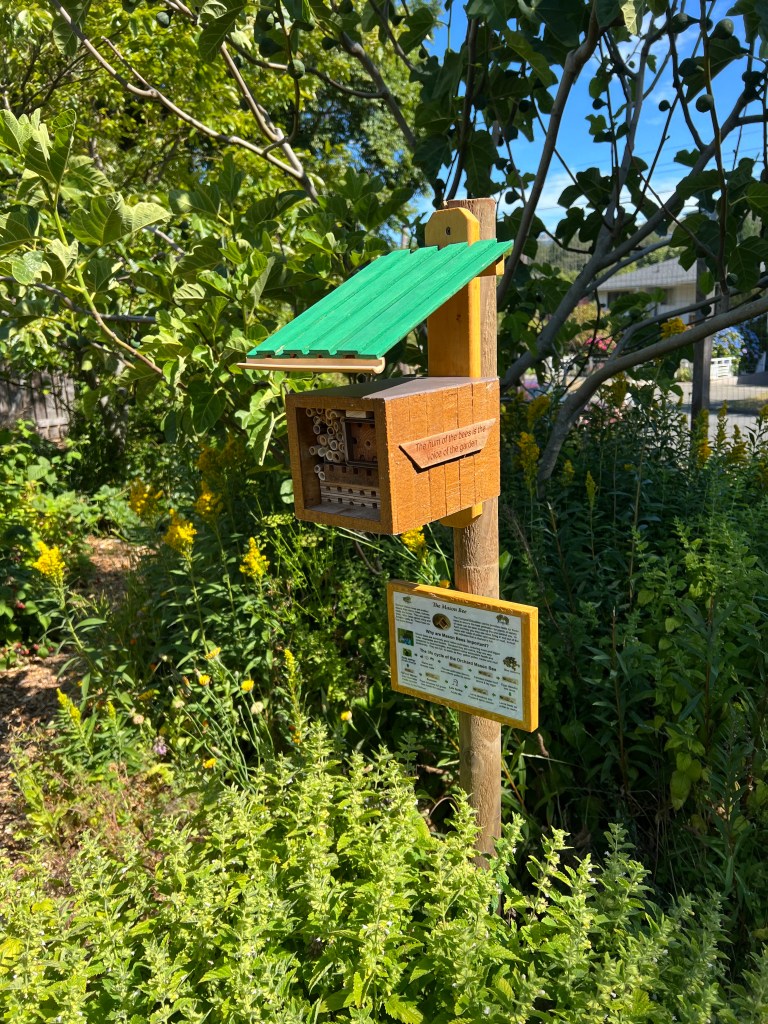
A roof is mounted above the house. The house & nests get a maximum amount of sunlight if the house faces east. To the right, bamboo has been split to provide a gutter, thus water will not flow in front of the house.
Greenhouse nest
Simple brackets hold bundles of bamboo or reed lengths inside a 4×6 ft. greenhouse. I started with one bundle but the nest was so successful a second was added. The door to the greenhouse was left open and a roof vent added a second “escape” route. The bees were not fazed by the greenhouse structure in the slightest.
This was a solution for pollination of fruit trees that bloomed very early in the spring before most insects were active. The warmer indoor temperatures encouraged emergence a few days earlier than normal.
